For WordPress Installation you can check the Famous 5-Minutes Install here:
Thank you for purchasing our theme. If you have any questions or queries that are beyond the scope of this documentation, feel free to contact us via email provided above. Thanks so much!
For WordPress Installation you can check the Famous 5-Minutes Install here:
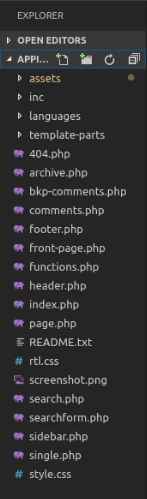
Appino is divided in six folders. Short Description for each of them is given below:
To use Appino, you must be running WordPress 5.0 or higher, PHP 7.1 or higher, and MySQL 5.6 or higher. We have tested it with Mac, Windows and Linux. Below is a list of items you should ensure your host can comply with.
Many issues that you may run into such as:
white screen, demo content fails when importing, empty page content and other similar issues are all related to low PHP configuration limits. The solution is to increase the PHP limits. You can do this on your own, or contact your web host and ask them to increase those limits to a minimum as follows:
Get the Appino Theme installation package from downloads section of your account and save it to your computer.

Step 1 - Login to your Wordpress Admin Panel.
Step 2 - Go to Appearance > Themes. Click the Add New button.

Step 3 - Click on the Upload Theme button. Locate "Appino.zip" and click Install Now.

Step 4 - Click on the Activate button to activate Appino. Congratulations, you have now activated Appino! You can now proceed with Appino's Plugin Installation.
Step 1 - Log into your Hosting server using an FTP client.(Ex: FileZilla)
Step 2 - Locate "Appino.zip" that you found in your ThemeForest Package and unzip it. Once it is done you'll get a folder named Appino with all theme files in it.
Step 3 - Locate your Wordpress directory and upload Appino folder (unzipped in the previous step) into ../wp-content/themes/
Step 4 - Click on the Activate button to activate Appino. Congratulations, you have now activated Appino! You can now proceed with Appino's Plugin Installation.
All required plugins are already added in your downloaded package.
Step 1 - After theme installation you should be redirected to Install Required Plugins page, which shows list of plugins:

Step 2 - Now, Select all "plugins".

Step 3 - Choose "Install" from the drop-down list at the top and then click "Apply".

Note - The installation process may take few minutes. Proceed further after successful installation.
Step 4 - When "All installations have been completed" appears, click on "Return to Required Plugins Installer".

Step 5 - Now, Select all plugins and choose Activate from drop down box this time.

With Appino, you can build a functioning website just by clicking a button and install our demo data or navigate to 5.2.1 Create A New Page to step by step build your website from scratch. Your Appino installation will be ready with data on our demo site, and you can use it as a template to develop your own website.
Go to Appearance > Import Demo Data. Then, Click on import.

Here you can see so many options.

Note: Progress bar will appear while it is setting up demo data.
Also, if you import manually then select file(Appino/inc/Demo/ocdi/).
Congratulations, Now you can visit your website to see the imported data.
You can create any number of pages you want with our content. Our theme includes several page templates to choose from, you just need to choose from the page template that suits your needs. All of this is done in the pages section of your WordPress admin.
If you are not using one click import demo data then, you will need to MANUALLY CREATE your Home and other pages.
Here’s how to build it:
Step 1 – Navigate to pages in your admin sidebar and click Add New Button.

Step 2 – Input a name for your page and click "BACKEND EDITOR"(Visual Composerplugin is required)

Note: Don't click "CLASSIC MODE", only input content to area 3 then go to Step 3
Step 3 – Set your Parent page. It’s usually set to No Parent.
Step 4 – Set your page template from the template dropdown list.
Step 5 – Content for your page goes in the editing field, use the Visual or Text editor. Page content is mainly built using Shortcodes. See the Shortcodes section for how to use them. You can also use our demo content, see the corresponding section of this document for the demo code of each page.
Next, you can publish this page and set it as your frontpage(settings > reading > static page) in the Wordpress Settings panel.
-------------------Remove------------------------
Currently OnePage sites are trending and Appino can help you do it easily. You just have to create a Menu with Links as items.


This section shows a list of pre-defined widgets on a page, so that you will find it easier when pulling out widgets to set up your site.


To build contact form you can go step by step using screens given below.


You can visit Contact Form 7 Plugin fpr further details.
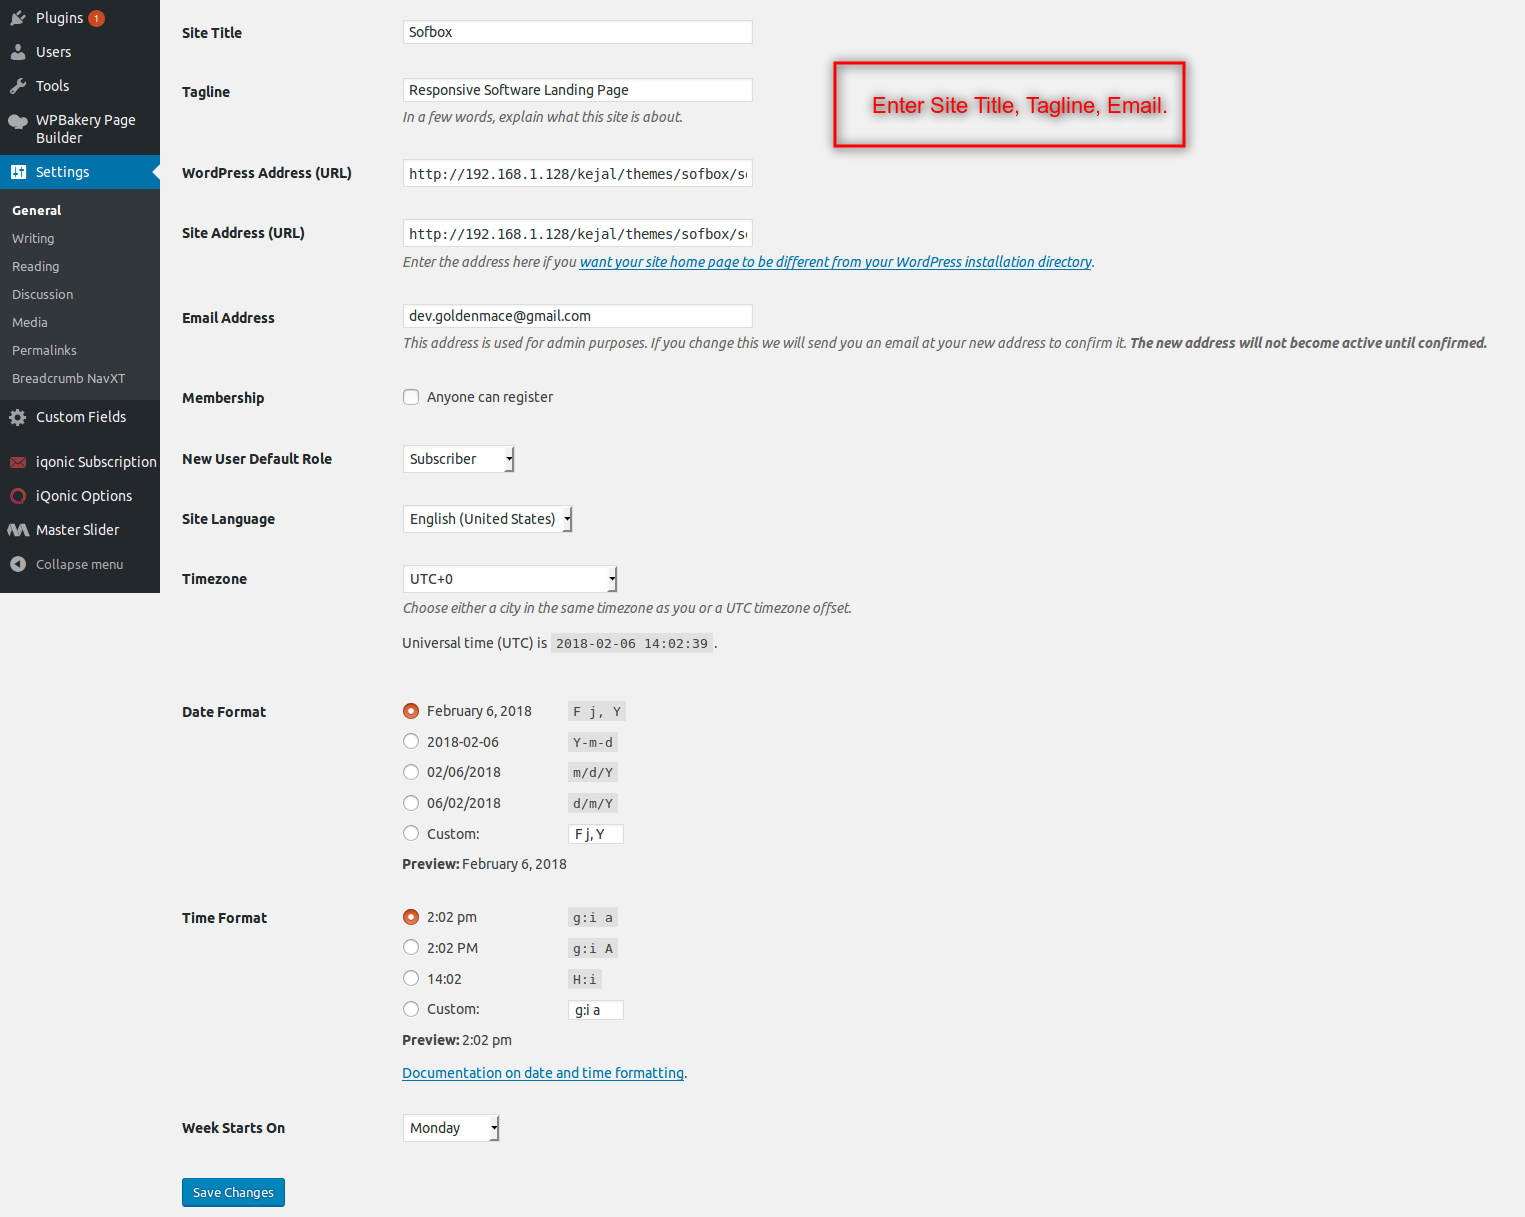
You can adjust WordPress settings as follows:
Step 1 – You can set Site Title, Tagline in Settings > General
Step 2 – You can set Blog pages show at most in Settings > Reading
Step 3 – You can select Front Page displays in Settings > Reading

Step 4 – You can set Discussion settings in Settings > Discussion
Step 5 – You can change Image sizes in Settings > Media
We used the following sizes on our demo sites:
Thumbnail size: 150 x 150
Medium size: 300 x 300
Large size: 1024 x 1024
Step 6 – You should ensure that a non-default permalink setting is selected, e.g. Month and name in Settings > Permalinks

By clicking on the "Theme Options" menu, you'll be able to change all template specific settings.
1.) - Logo : Upload logo.
2.) - Fevicon : Upload fevicon icon.
3.) - Header Design Variation : Select the design variation that you want to use for site Header.
4.) - Menu Style Sticky : You can set the manu sticky or not.
5.) - All Inner Page Default Banner Image : Set the default image for all inner pages.

1.) - Footer Layout Type : - Enable the footer widget area and select the options of coloum which you want to show.
2.) - Footer Top Bar : - Select options, which you want show on Footer Top Bar.
3.) - Footer Map : - Enter the iframe of map address.
4.) - Contact Form Title : - Enter the title of contact form.
5.) - Footer Contact Visibility : - Enter the shortcode of contact form 7 to display in footer top area.
6.) - Footer Copyright Visibility : - If you want to replace deafult copyright text enable this option and enter the copyright text.

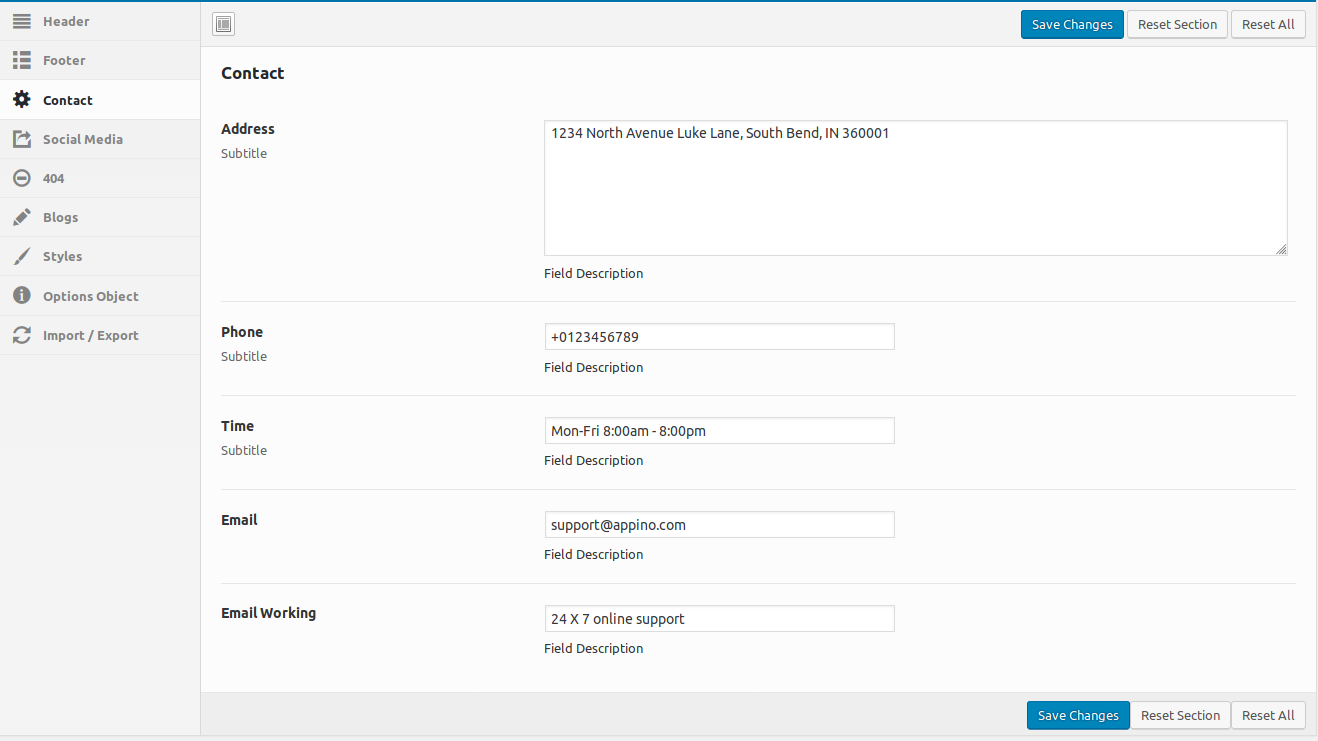
1.) - Address : - Enter your address.
2.) - Phone : - Enter your contact number.
3.) - Office Time : - Enter your office number.
4.) - Email : - Enter your email id.
5.) - Support : - Enter your support.
1.) - 404 Page Default Banner Image : - Upload 404 banner image.
2.) - 404 Page Title : - Enter the title of 404 page.
3.) - 404 Page Title Description : - Enter the title description of 404.
4.) - 404 Page Description : - Enter the description of 404 page.

1.) - Blog Page Default Banner Image : - Upload Blog banner image.
2.) - Blog Page Title : - Enter the title of Blog page.
3.) - Blog Page Description : - Enter the description of Blog page.

Content management is a breeze with Fortuna and it requires absolutely no coding skills. Using a highly customized version of the Visual Composer plugin the theme offers a user friendly drag and drop interface for easy page creation and editing. Follow these simple steps to create a Page with Appino:
Step 1 - Go to Pages > Add new in your Dashboard. Add a title to your Page (top field).
Step 2 - Switch to Backend Editor if you are currently under Classic Mode (button below Title field).

Step 3 - Click on + button. An Add Element Popup appears, click on the first element in order to add a new row to your page. A row is a main building block of a page, you can split your rows into columns, place various elements into your rows, set row Backgrounds, effects etc.

Step 4 - Once you have the new row added to your page you can split that row into columns in order to organize elements nicely in it. Once you split your row into column you can start adding different Page Elements into your columns. If you want to edit your row/column Settings click on the small Pen icon (top right corner of the row/column). You can also Duplicate your row with the Icon (duplicate icon) next to it or Remove the row/column with the icon to the right (trash bin icon).
Click on the Edit row button (Pen icon, top right of the row). You will see the row Settings Dialog popup.

Layout:
Full Width (overflow hidden) - Row will full width (option default)
Full Width (overflow visible) - Row will full width, visible content if overflow
Container - Max width 1170px and center.
Container Fluid - Full width, padding left and padding right 15px.

CSS Animation - Select type of animation if you want this element to be animated when it enters into the browsers viewport.
Animation Duration - Duration in seconds. You can use decimal points in the value. Use this field to specify the amount of time the animation plays. The default value depends on the animation, leave blank to use the default.
Animation Delay - Delay in seconds. You can use decimal points in the value. Use this field to delay the animation for a few seconds, this is helpful if you want to chain different effects one after another above the fold.
Once you have the desired number of columns in a Row you can manage each column's individual settings by clicking on the Toolbar icons of that specific column. The Plus Icon adds an element to the top of the column, the bottom Plus Icon adds an elemnt to the bottom of the column. The Trash Bin icon removes the column. Access the columns Settings by clicking on the Pen Icon.

Access the columns Settings by clicking on the Pen Icon. The General tab provides with the option to add CSS classes to your columns if you wish to access it via CSS (can pass more than one divided by a space).

Adding Page Elements to your Page is pretty straightforward. First you need to have created a new page, added a Row to it and defined your Row columns (read more in the previous section).

Step 1 - Click on one of the Plus Icons within the column you want to add a new element to.
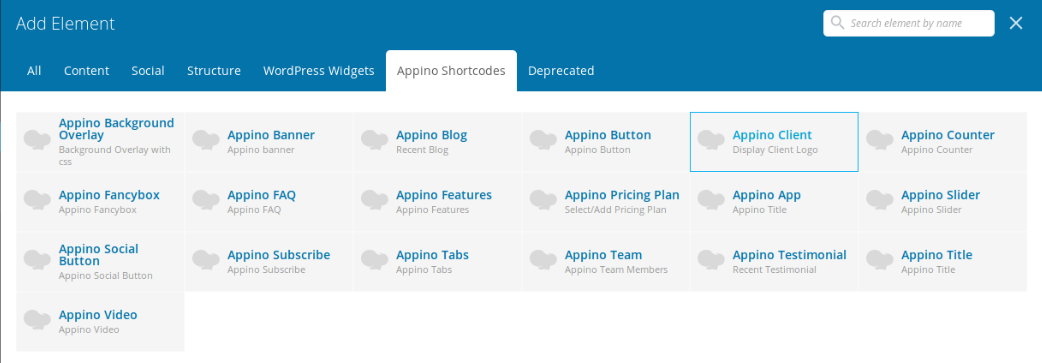
Step 2 - The Page Elements dialog will appear, click on the element you want to add to your Column/Row.

Step 3 - The Element Settings Dialog of the Element you are adding appears. Customize your element anyway you want, then click Save.
Step 4 - Your element is now in the Column you added it to. Once you hover your newly added element you will see a small popup that let's you manage it. You can do the following with your elements:
Move - Drag your element via the Direction Icon to move it around within the Column,Row or Page.
Edit - Click on the Pen Icon to edit your Element's properties.
Clone - Click on the Copy Icon to duplicate your Element.
Delete - Click on the Trash Bin Icon to remove your Element.

Appino includes 3 custom post type:

You get free 6 month support with this theme. If you need some help or found a bug or an issue, you can always contact us and we will try our best to respond you within a day or two.
If you have any questions or quries that are beyond the scope of this documentation.
Please feel free to contact us via email: [email protected]
You can also create a topic here: http://iqonicthemes.in/contactus.
Social Profiles :
These options are for a box that enable people to share your blog content on various social networks which automatically shows up under the content blog posts, an important function that helps promoting your site. You can also check the options to decide which network they are allowed to share the content of your website on. You can also turn off all options if you don't want your content to be shared at all.
Social Media Option: Enter your social media Url.